Recharge Now for ₹1000 & Get ₹1600* In Your Wallet. Use Code: FLAT600 | Limited Period Offer On First Recharge
*T&C Apply.
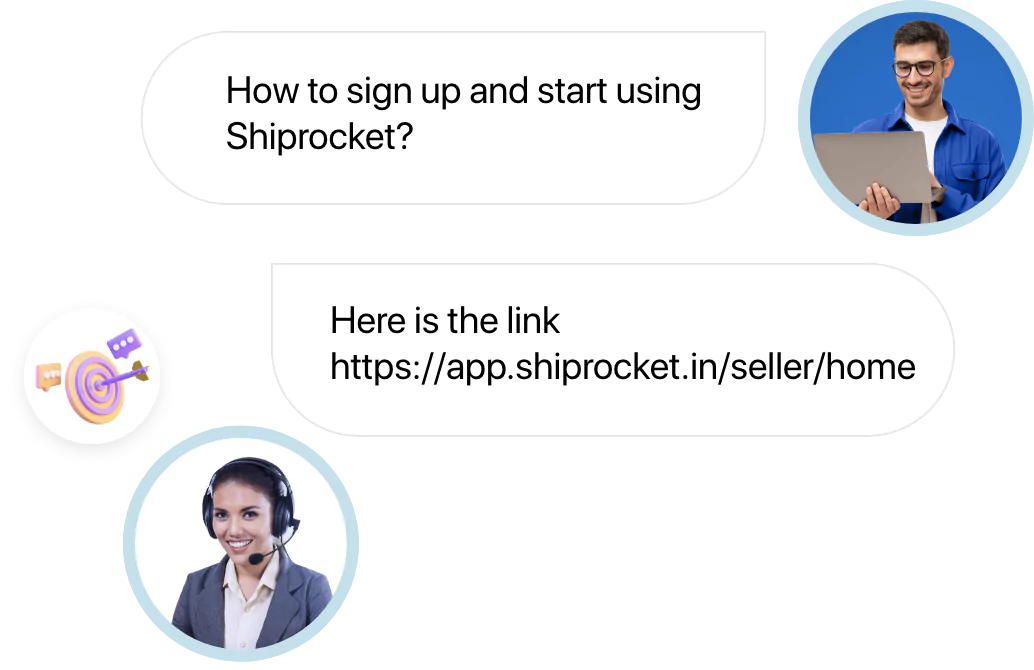
Signup Now
Ship your
dream
Create a delightful online journey by optimising your
shipping process and everything surrounding it.
Estimated Delivery Date
17 June


0K+
Happy Sellers

0
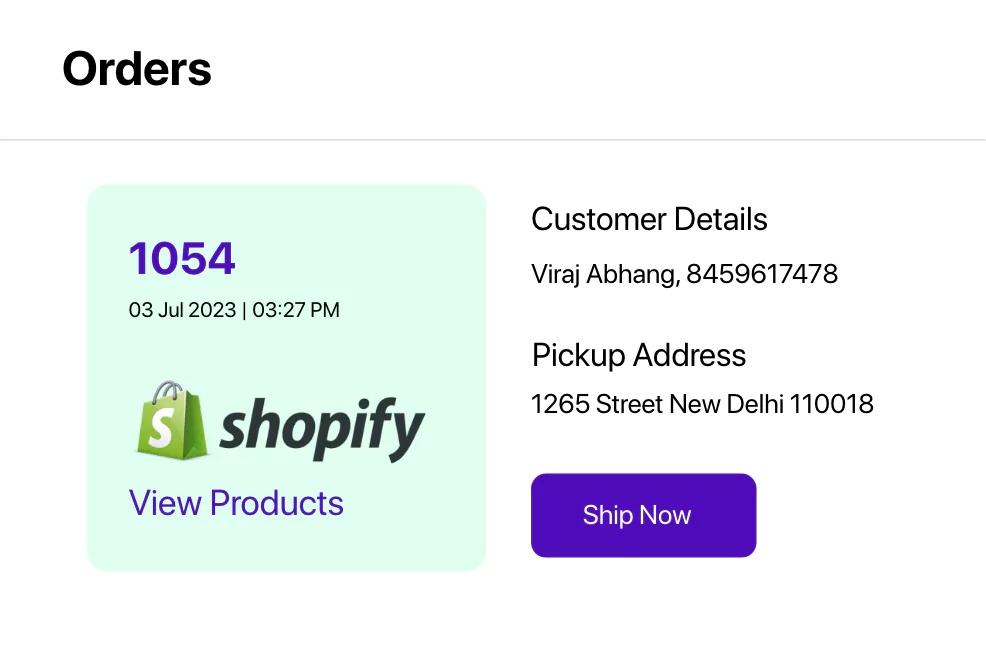
Your total orders


Total Revenue
₹0
+0%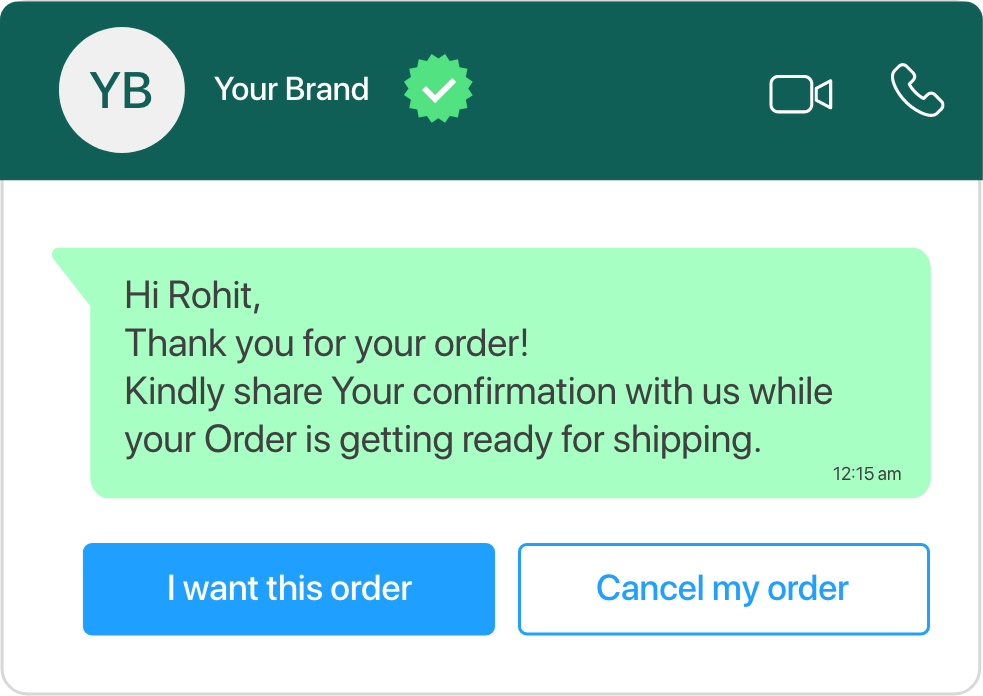

0K
Orders Fulfilled Monthly
Next Day Delivery
1-2 Day Delivery


A trusted growth partner
Lakhs of eCommerce businesses chose
Shiprocket to streamline their customer
journey-from shipping to returns and beyond
Shiprocket to streamline their customer journey-from shipping to returns and beyond
-
2.5 Lakh+
merchants nationwide
-
20 Crore
transactions every year
-
₹ 30K Crore
annual GMV powered
-
25 Crore
shipments delivered
Enhance your customer experience
at every touch point
Shipping
Keep things simple
Domestic shipping
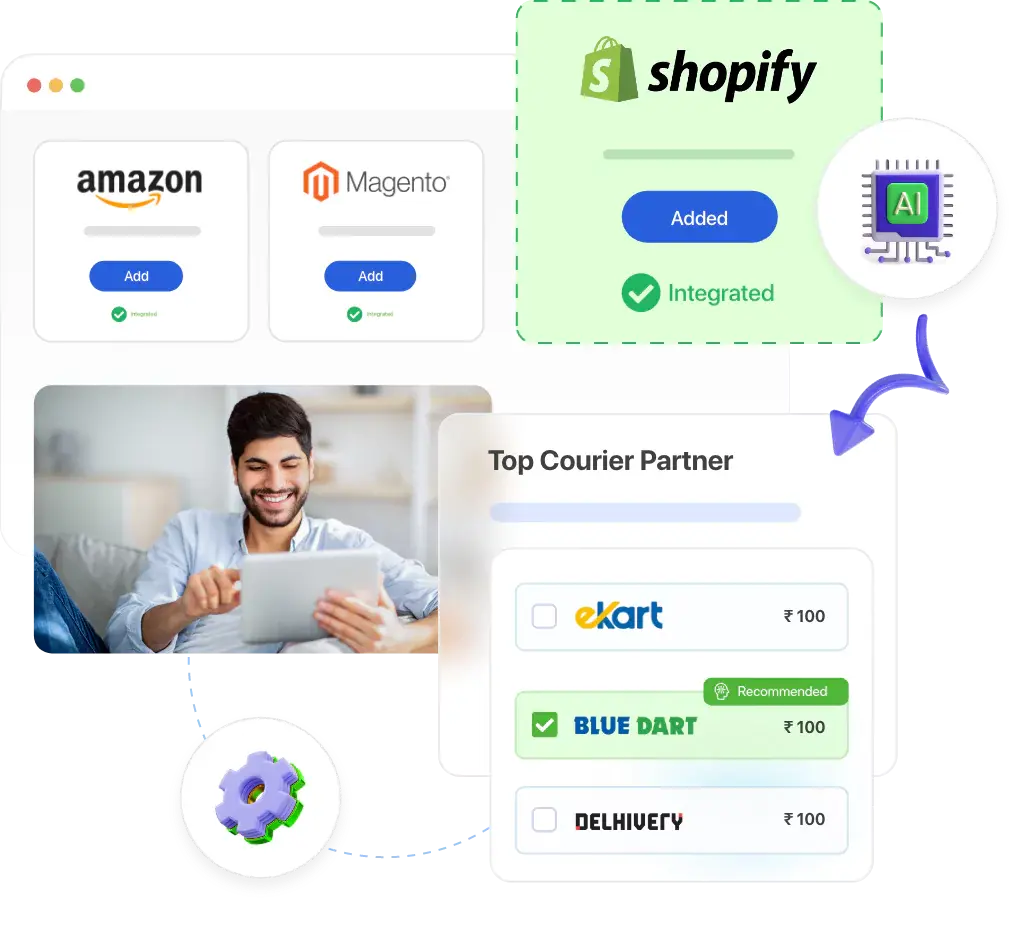
Manage all channels in a single view and reach nationwide efficiently with AI-based courier selection
Explore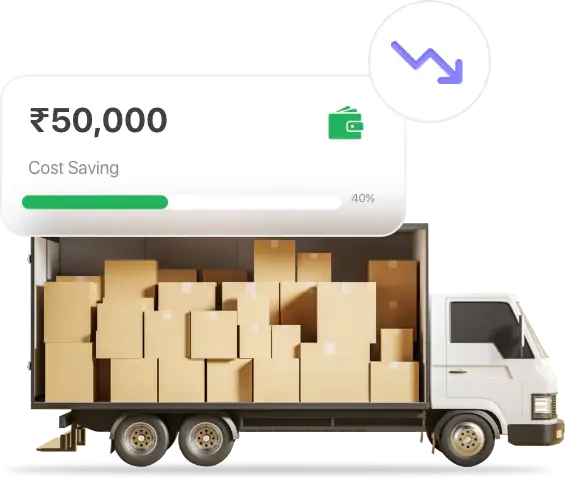
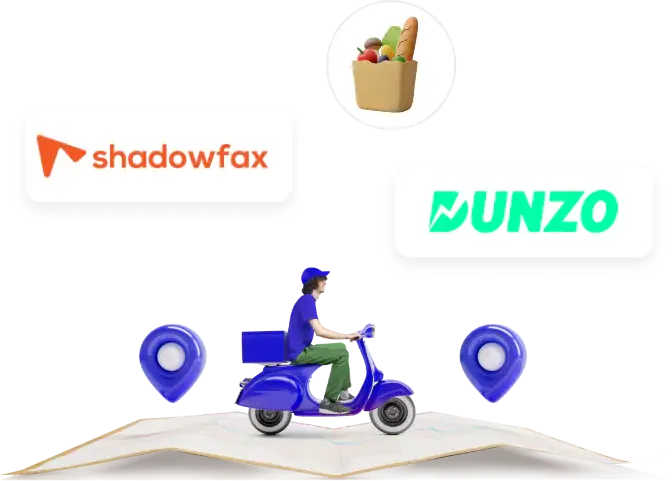
Hyperlocal delivery
Make intra-city deliveries in hours with our experienced courier partners
Explore
Experience Shiprocket in real-time with our live demo. Sign-up not required for demo
Check Live Demo
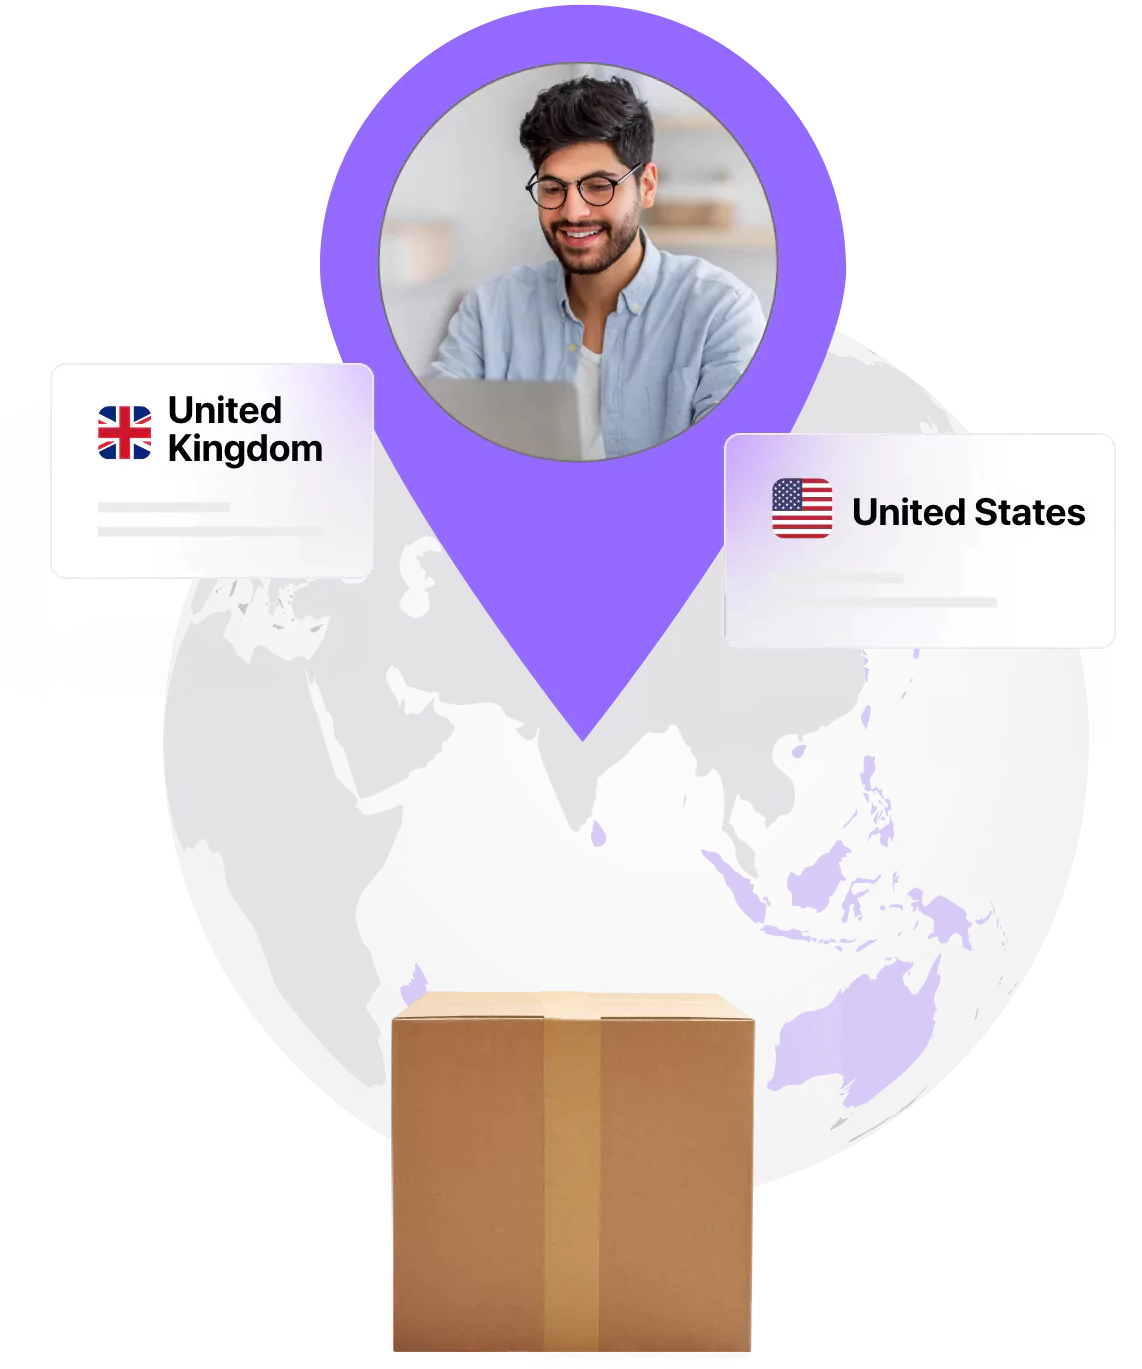
Exports
Grow beyond boundaries
Ship your orders to over 220+ countries and territories with India’s leading cross border shipping solution
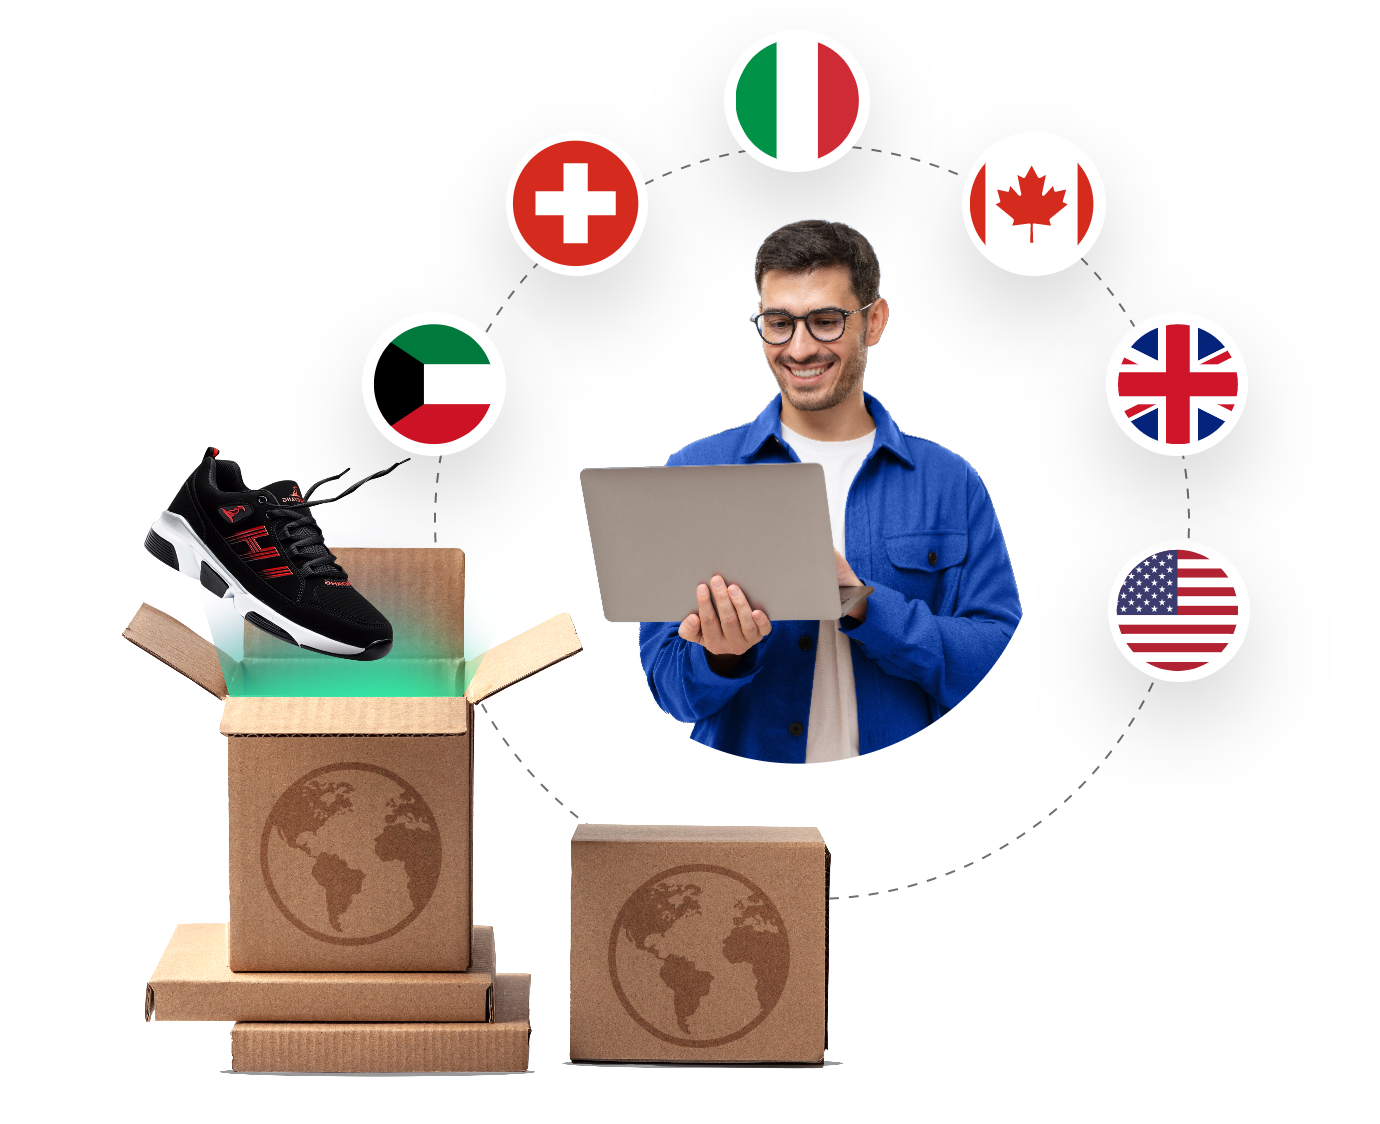
ExploreAccess transparent door-to-door B2B deliveries via air from India to anywhere with no weight restrictions
ExploreTake your brand global and start selling to international customers with minimum investment risk
Explore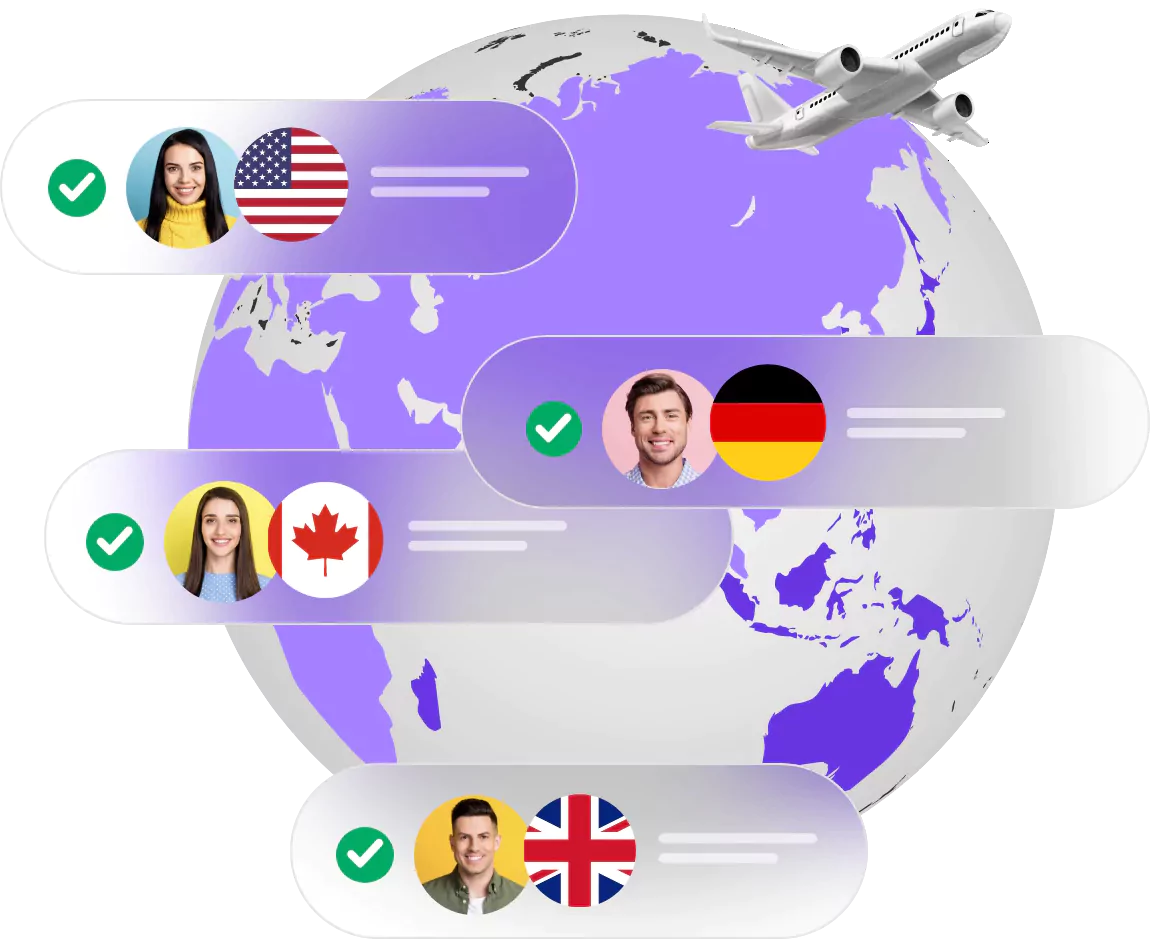
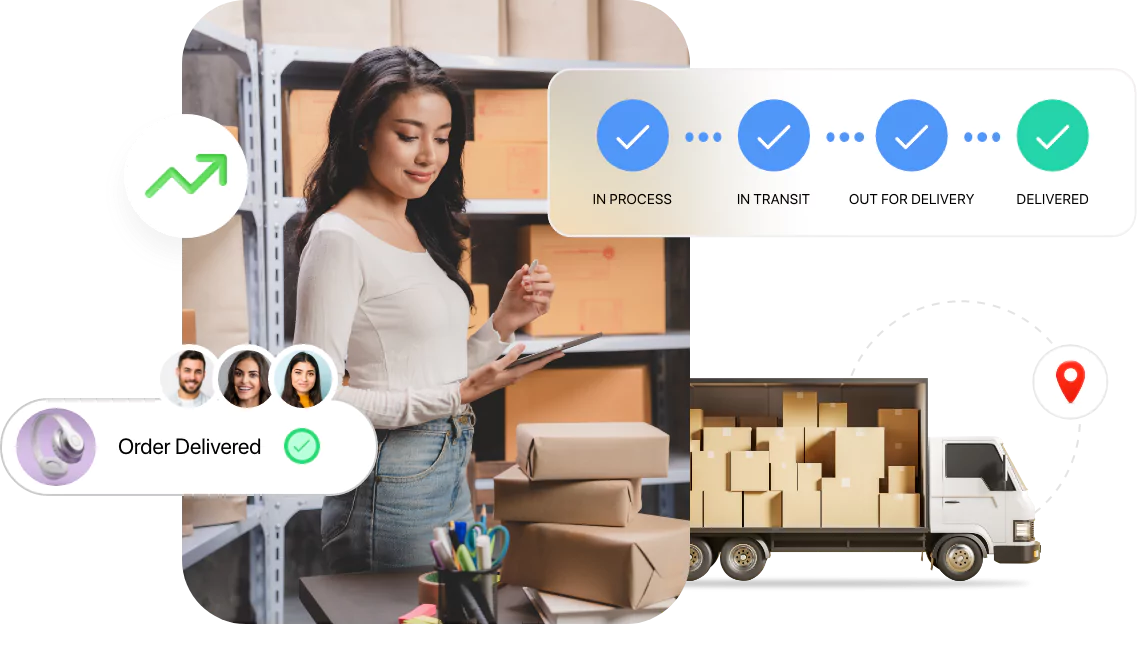
Delight
Elevate customer experience

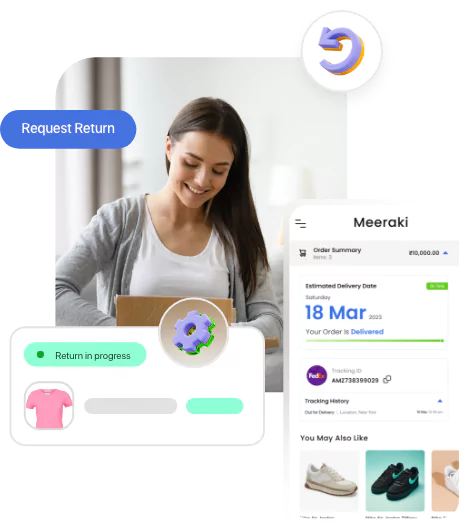
Customer communication
Automate your post-purchase communication and lower your RTO losses by 45%
Explore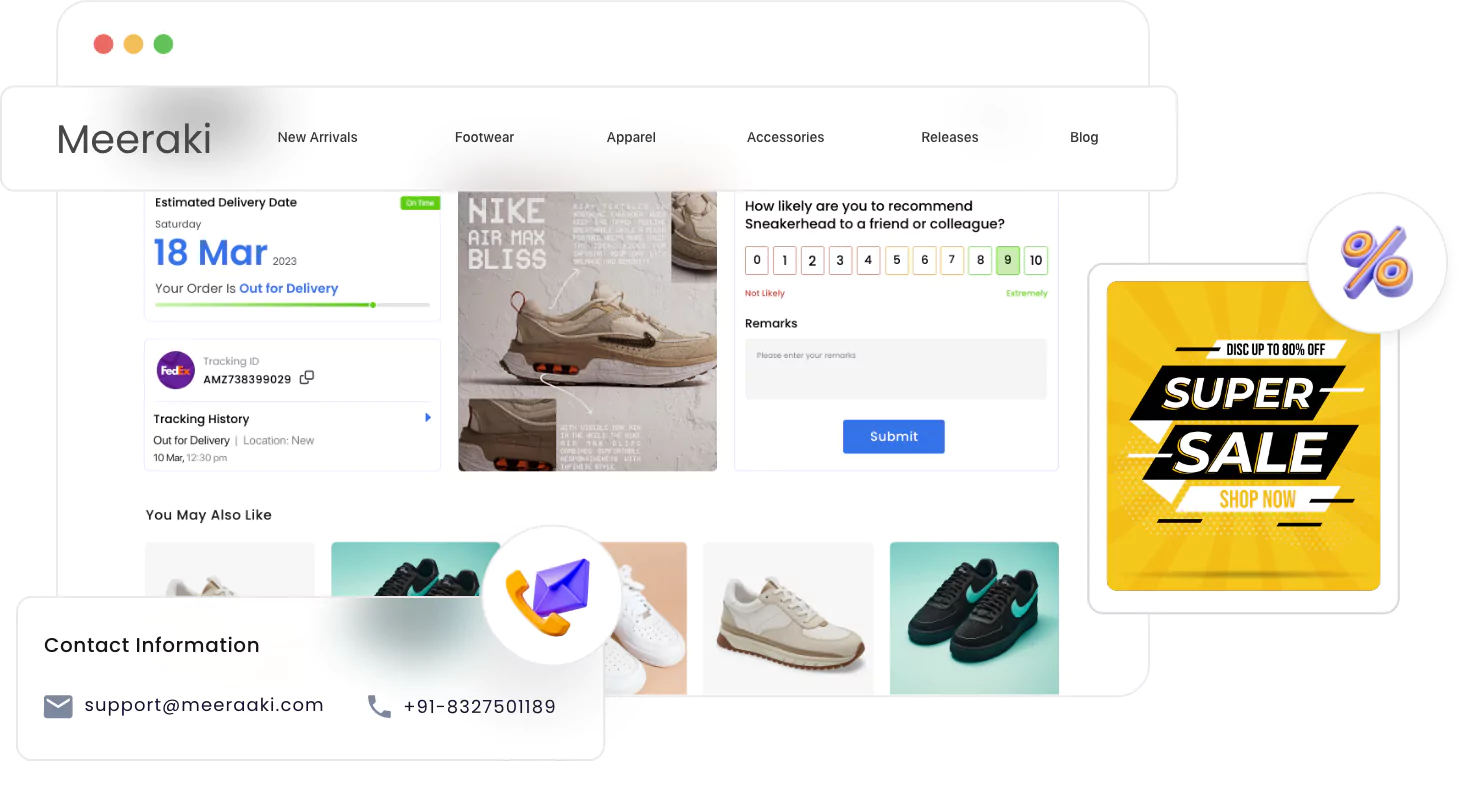
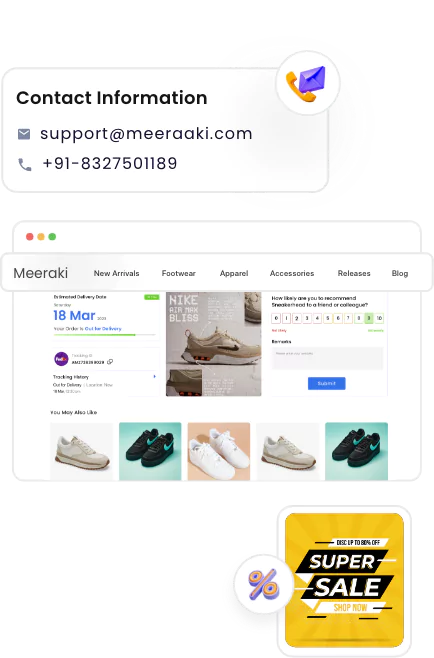
Tracking page
Build trust with your brand name, logo, offers and support details on your order-tracking page
Explore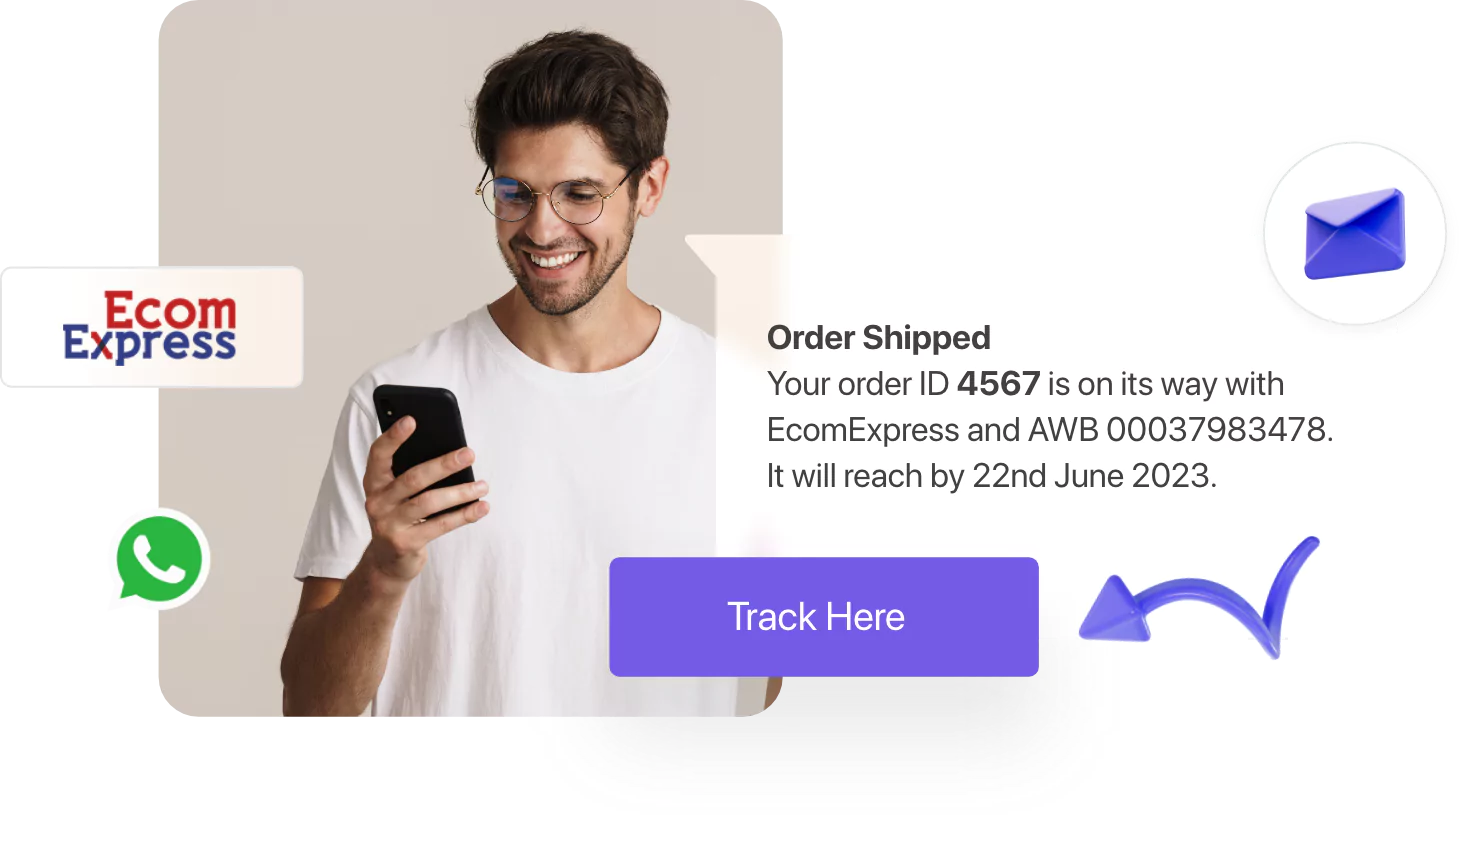
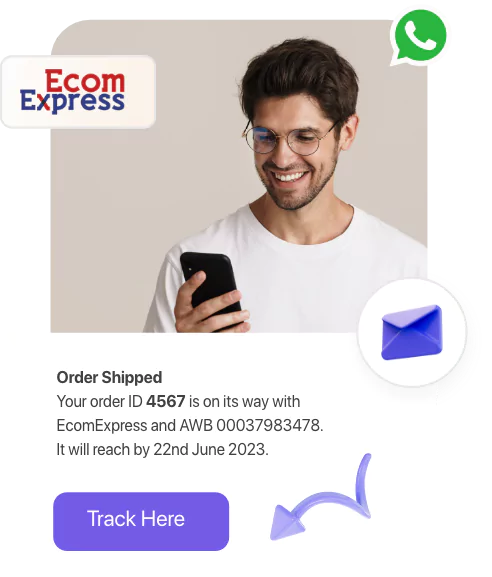
Status alerts
Reassure your customers with real-time tracking alerts through WhatsApp, Email and SMS
Explore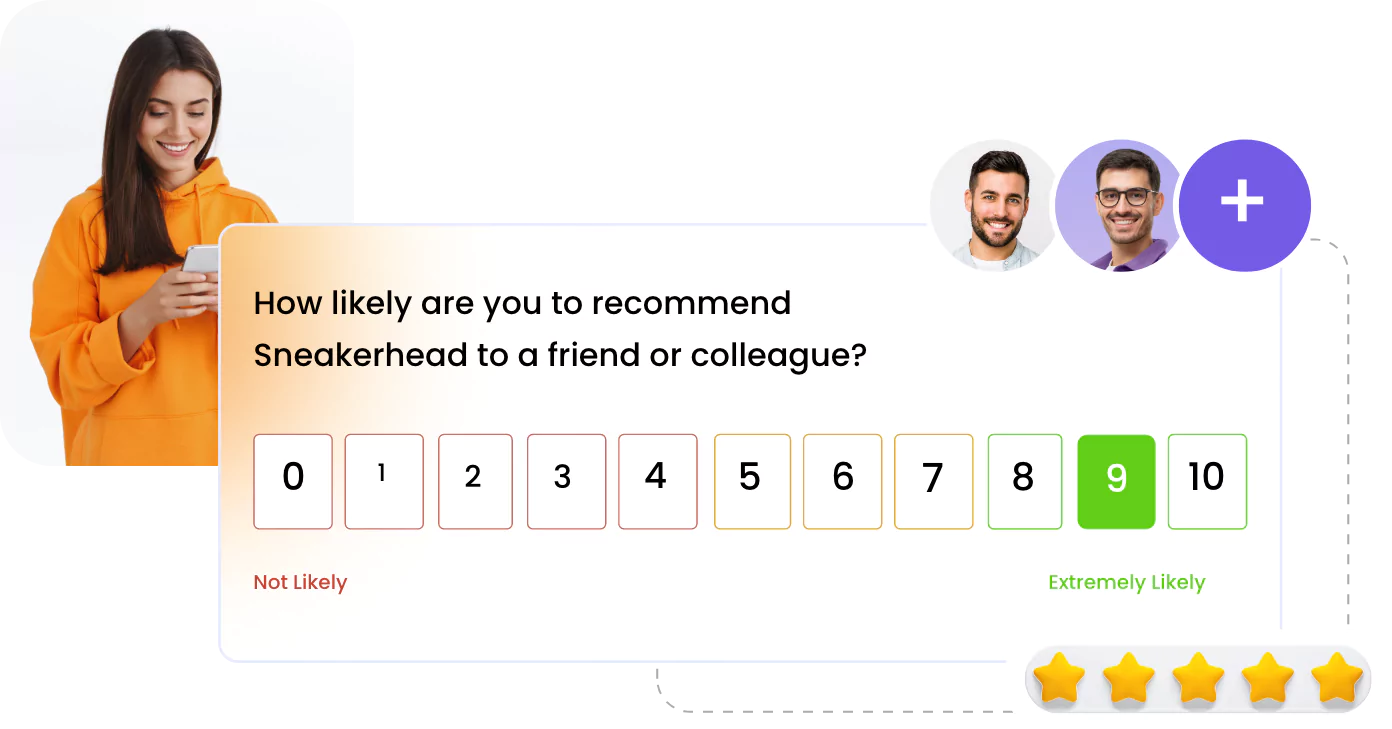

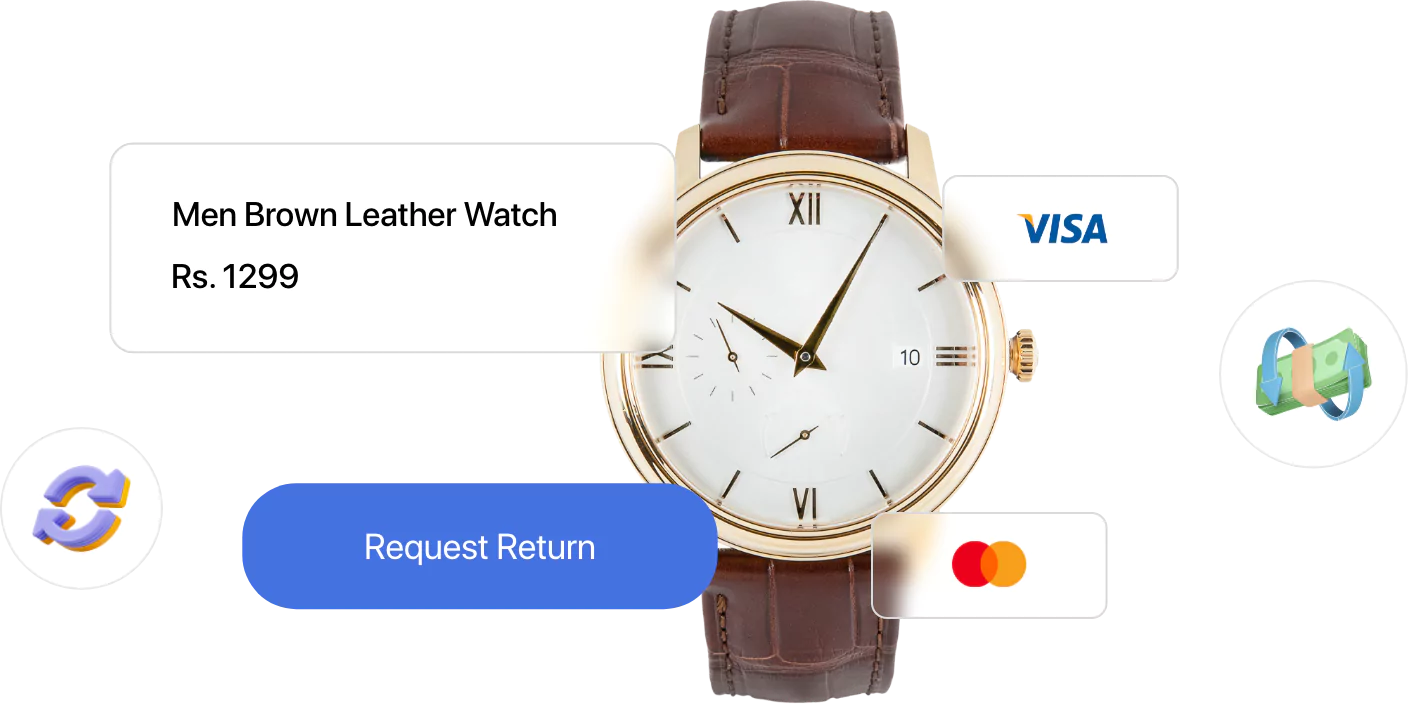
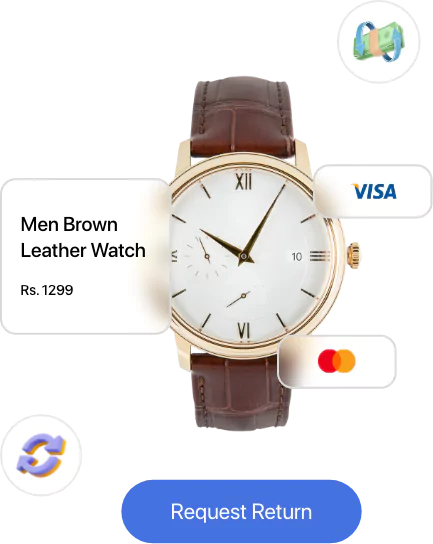
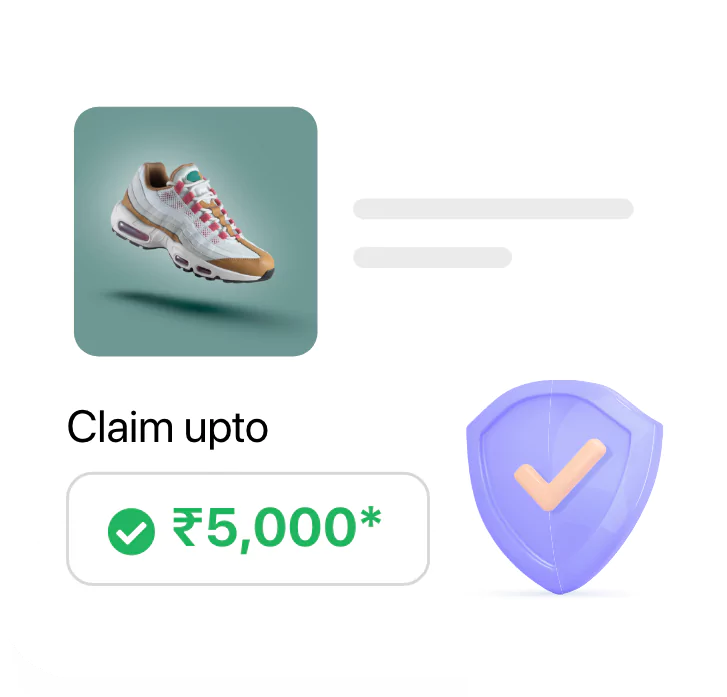
Returns management
Offer easy returns, send regular status updates, and provide instant refunds
Explore
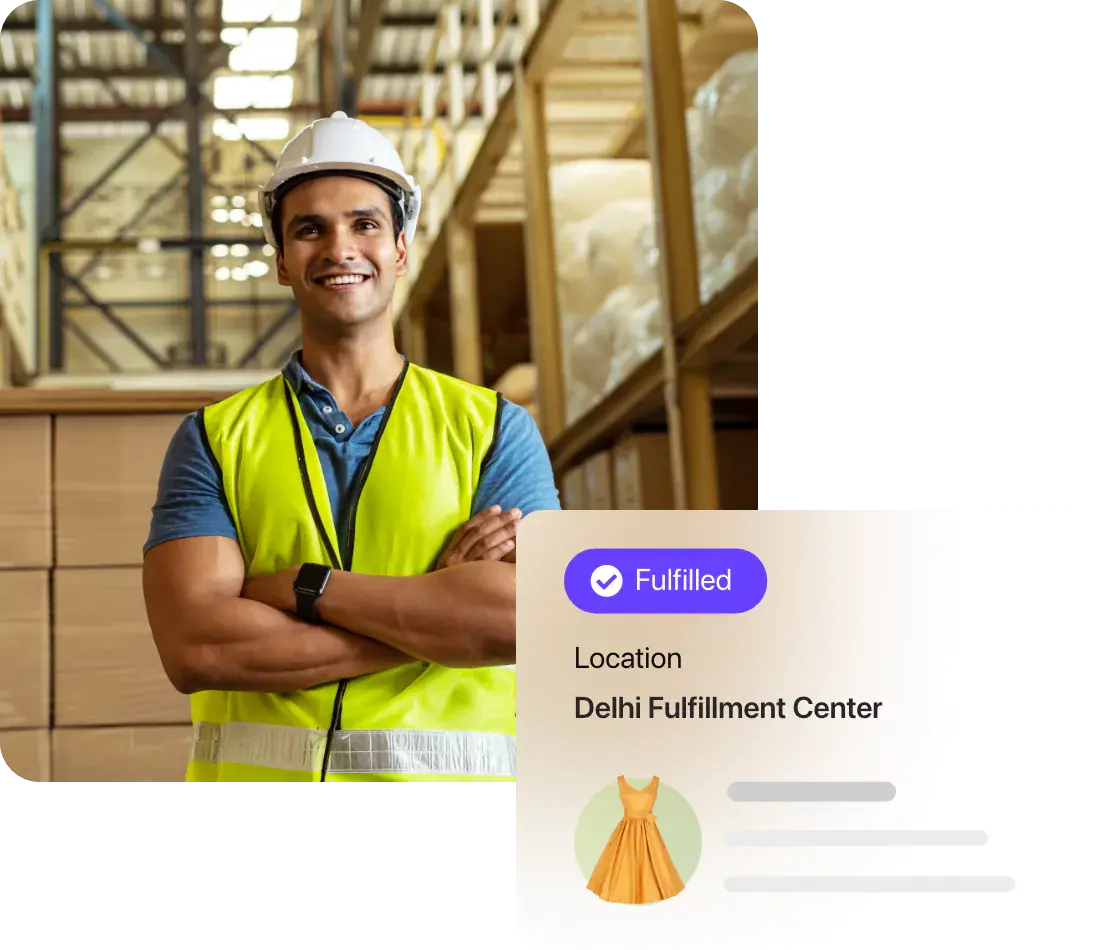
Fulfillment
Fulfill every need
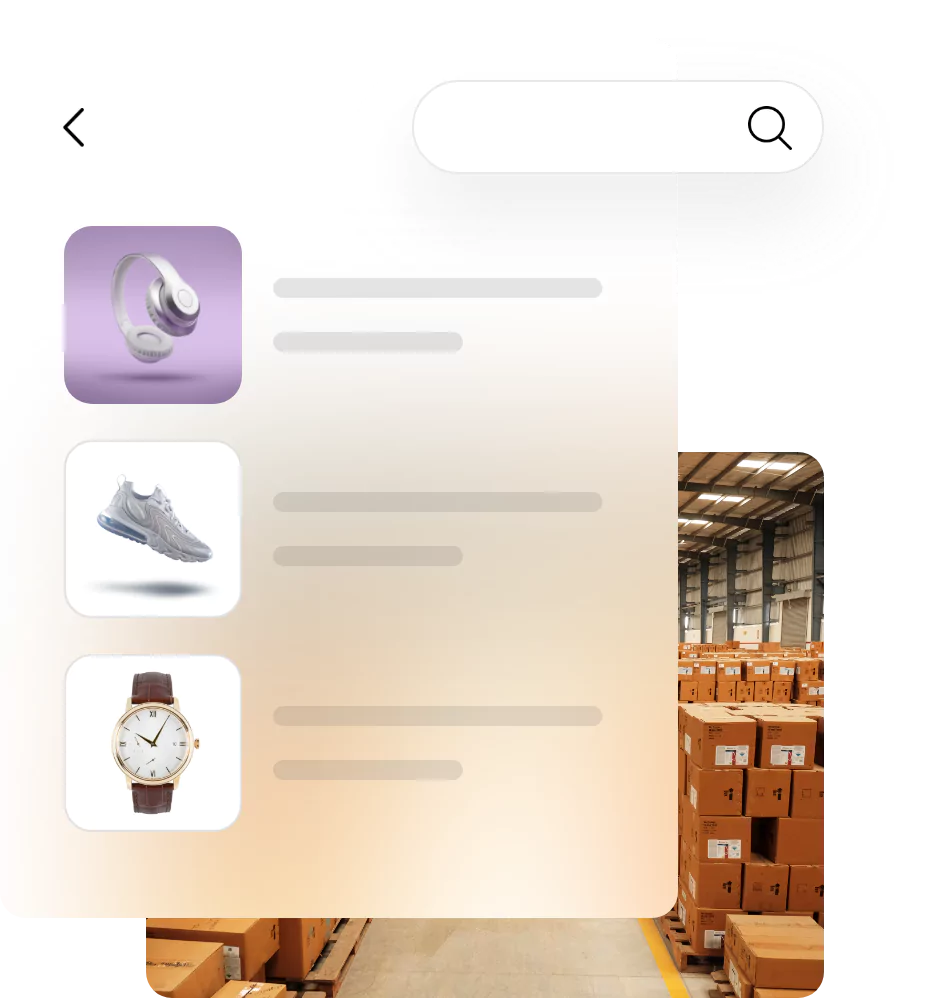
B2C fulfillment
Store inventory closest to your customers & deliver their packages on the same or the next day
ExploreB2B shipping
Fulfill and ship your B2B orders in bulk and on time with our end-to-end solution
ExploreOmnichannel enablement
Connect your warehouses, stores, marketplaces, and website to provide a unified experience
Explore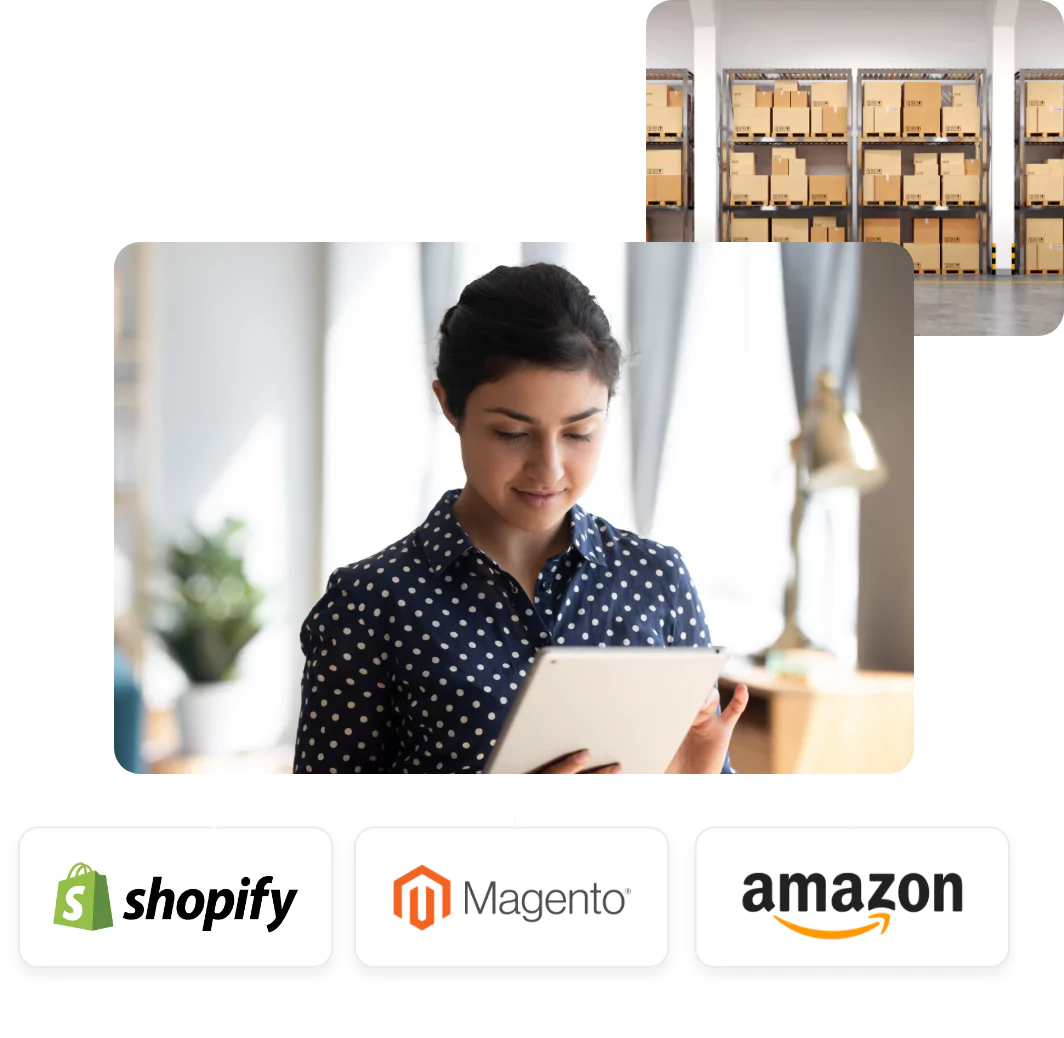
Conversion
Drive repeat purchases
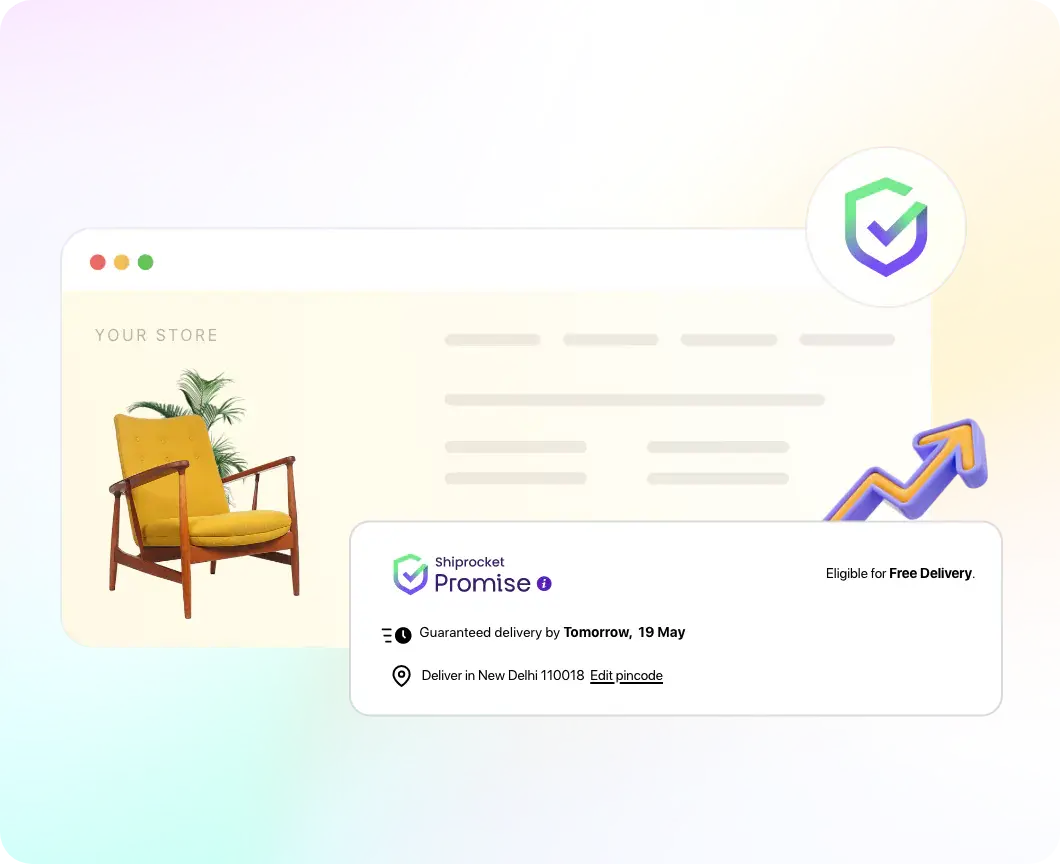
Trust building
Show Shiprocket’s badge of trust throughout your website to boost credibility
Explore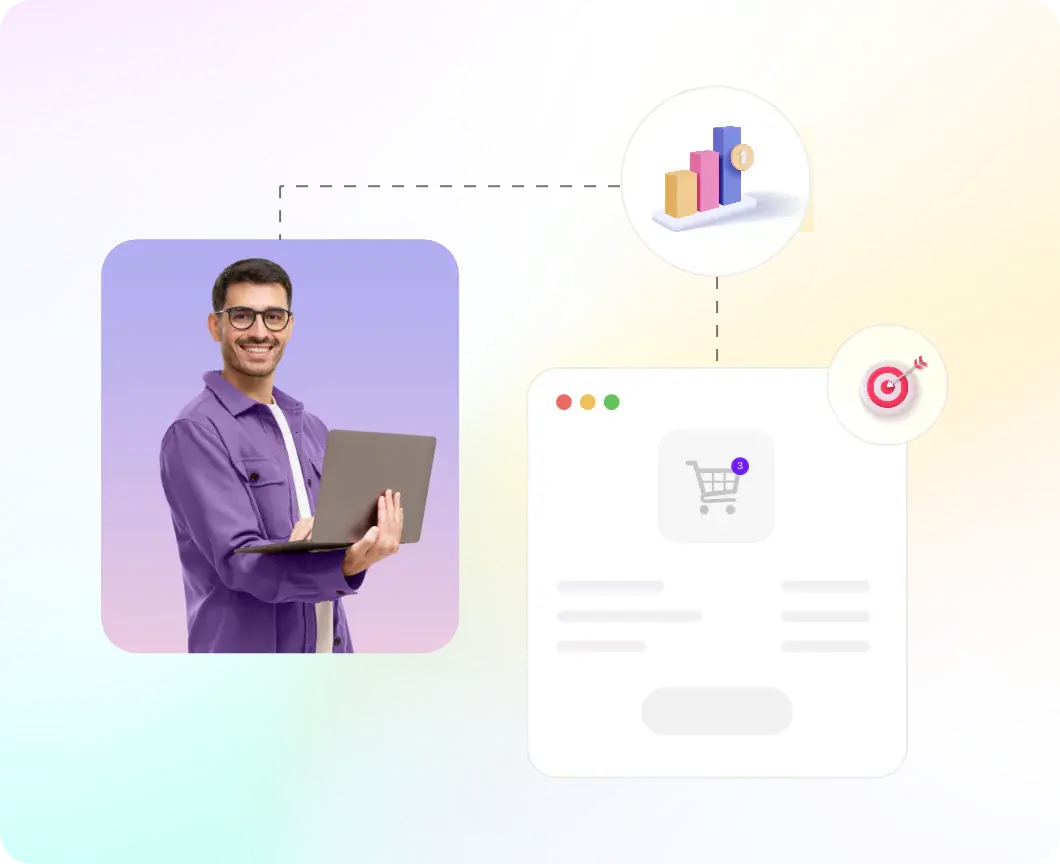
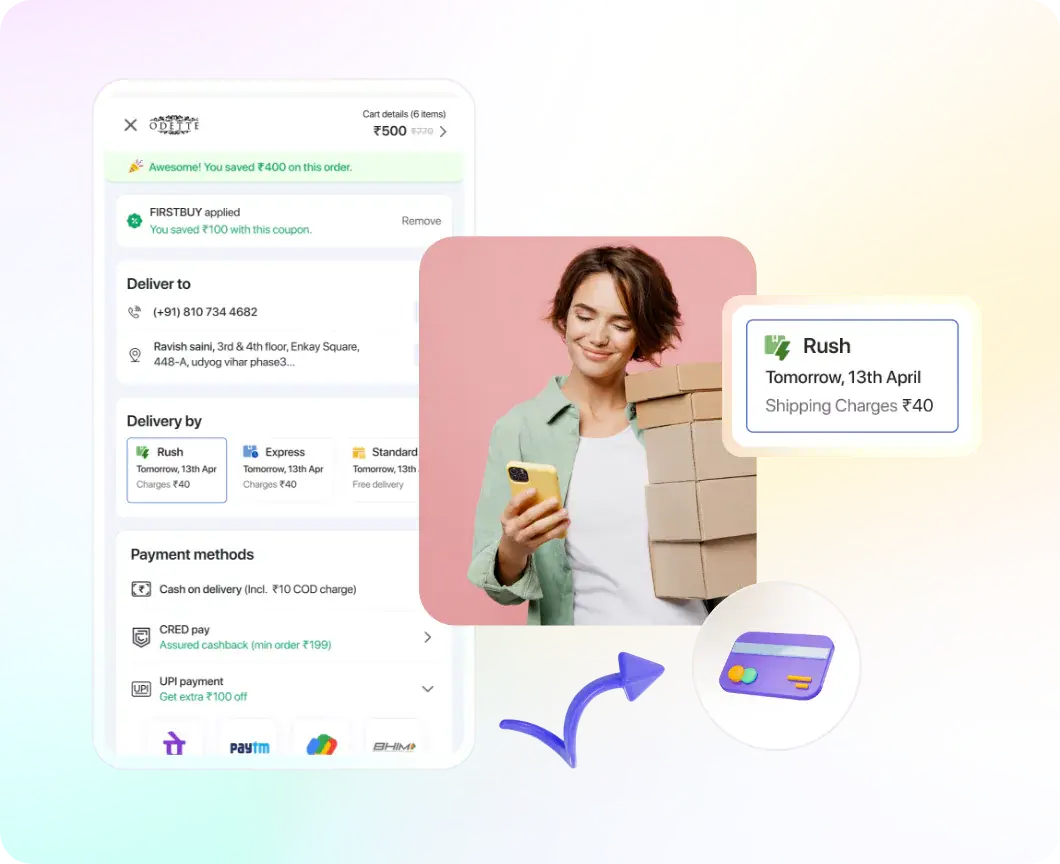
Checkout optimisation
Speed up checkout by 70% with pre-filled details and intelligent fraud detection
Explore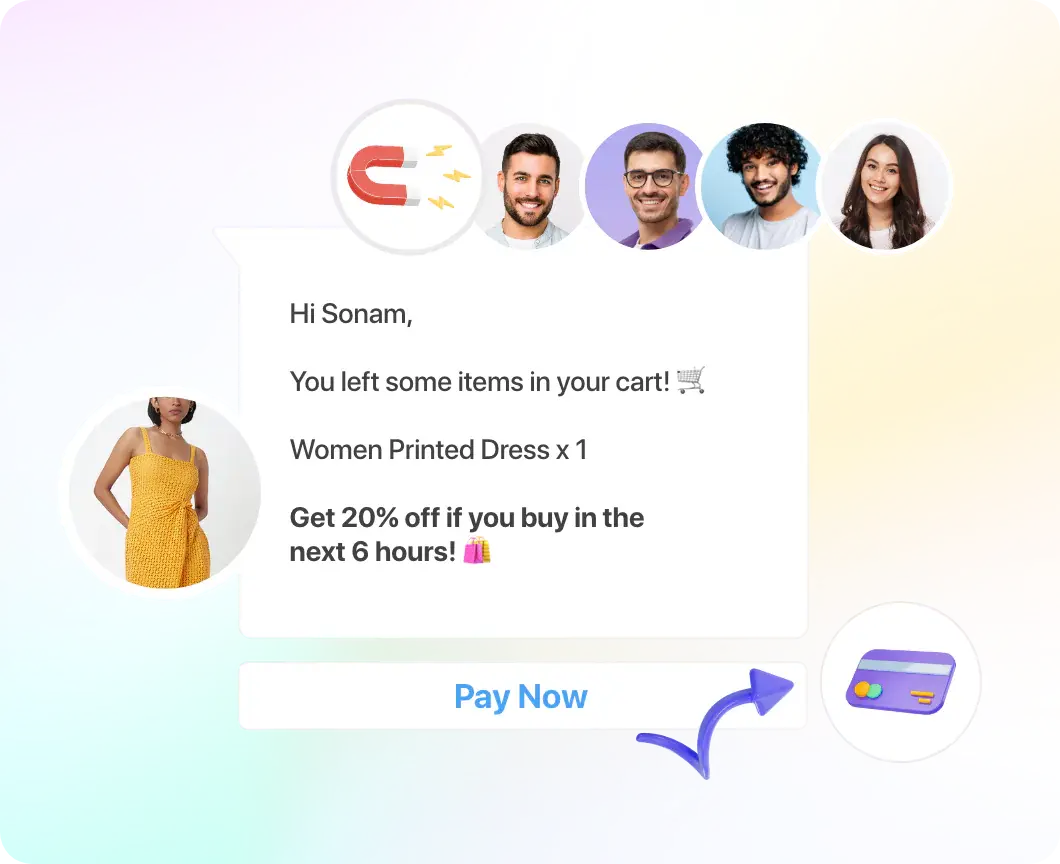
Customer retention
Re-engage with high-potential prospects and increase customer retention by 25%
Explore From anywhere
to everywhere
Our multi-courier network spread across 24000+ pin codes
lets you say yes to every order, even from remote areas.
What makes it all work together
Seamlessly connected components
Use one platform to manage everything, including your sales channels, inventory, catalogues, carriers and customer data
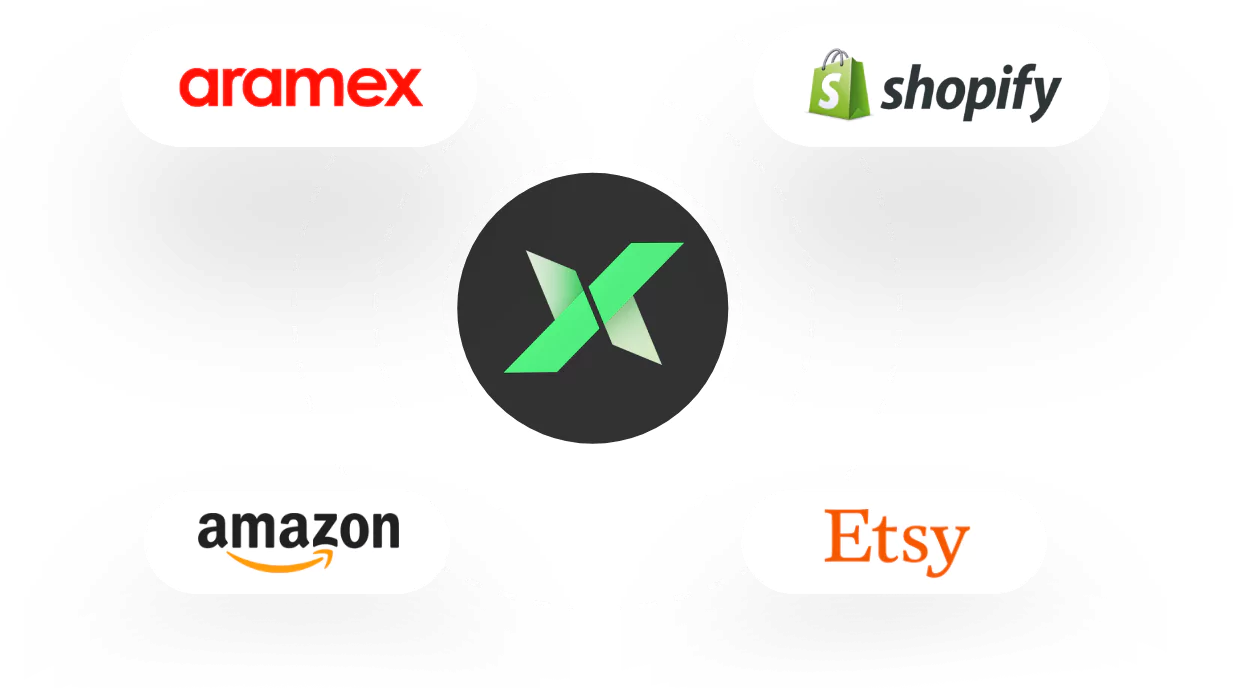
150+ ecosystem integrations
Leverage the largest eCommerce enablement layer of carts, checkout and payment interfaces, courier partners and more
Explore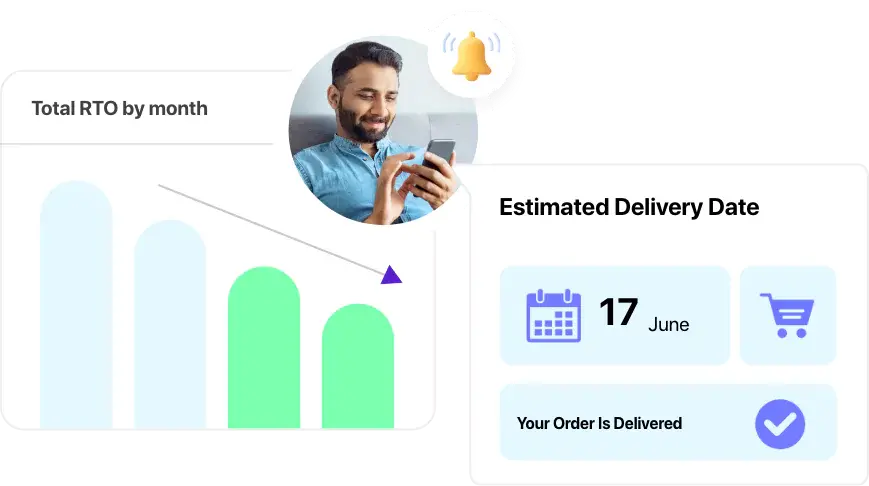

Over 1 Trillion data points
Be it reducing RTO or improving conversions, utilise our AI-driven analytics to achieve it all smartly
Explore
Tailored business workflows
Respond to the needs of your customers as well as your business just the way you like
Explore
All-around support
Get a dedicated account manager that you can rely on for all your concerns at every step
ExploreManage multiple channels in one place
Integrate 12+ sales channels to easily manage your orders, inventory and more


Why we do what we do

-
Ayush
Founder, Car101
It has been about six months since we launched in the market, and the Shiprocket team has been immensely helpful from day one. They’ve assisted us in everything from selecting the right courier partners and securing the best prices to handling escalations and last-mile deliveries. This is a big shout-out to the dedicated account managers and Shiprocket for their unwavering support.
-
Sudheer
Founder, Organicos India
Shiprocket has made our order process cost-effective and seamless with real-time tracking and updates. It saved us time, money, and resources, enabling us to provide maximum benefits to our clients. Shiprocket has been our trusted partner since the beginning, and we highly recommend it to other entrepreneurs.
-
Gorang
Founder, Little Rituals
Shiprocket has not only served as an aggregator helping us transport goods from A to B but has also significantly enhanced our business. Our customers receive updates at every step, the invoicing is paperless, and our return-to-origin (RTO) rate is now less than 1%. The team consistently responds to our queries within 24 hours, making our association commendable.
-
Nikhil Sharda
Dhara Food Products
I want to express my gratitude to Shiprocket for existing in this world of digital technology. The platform’s flexibility allows us to choose from various delivery agencies and partners, ensuring we find the right fit for our needs independently. Without Shiprocket in our country, it would have been challenging to select the ideal delivery partner. I strongly prefer Shiprocket.
-
Rahul Garaval
Co-founder, Prince Street
Our entire revenue comes from online sales, and for the past three years, we have relied completely on Shiprocket for all our shipment needs. Thanks to their support, our shipments reach all parts of the country within just 5 days.
-
Priyanka Gusain
Founder, Zubiya
With Shiprocket, our shipping errors have really reduced. Also, it has become easier for us to integrate our channels, import our orders and ship our products smoothly. I recommend it to every eCommerce store!